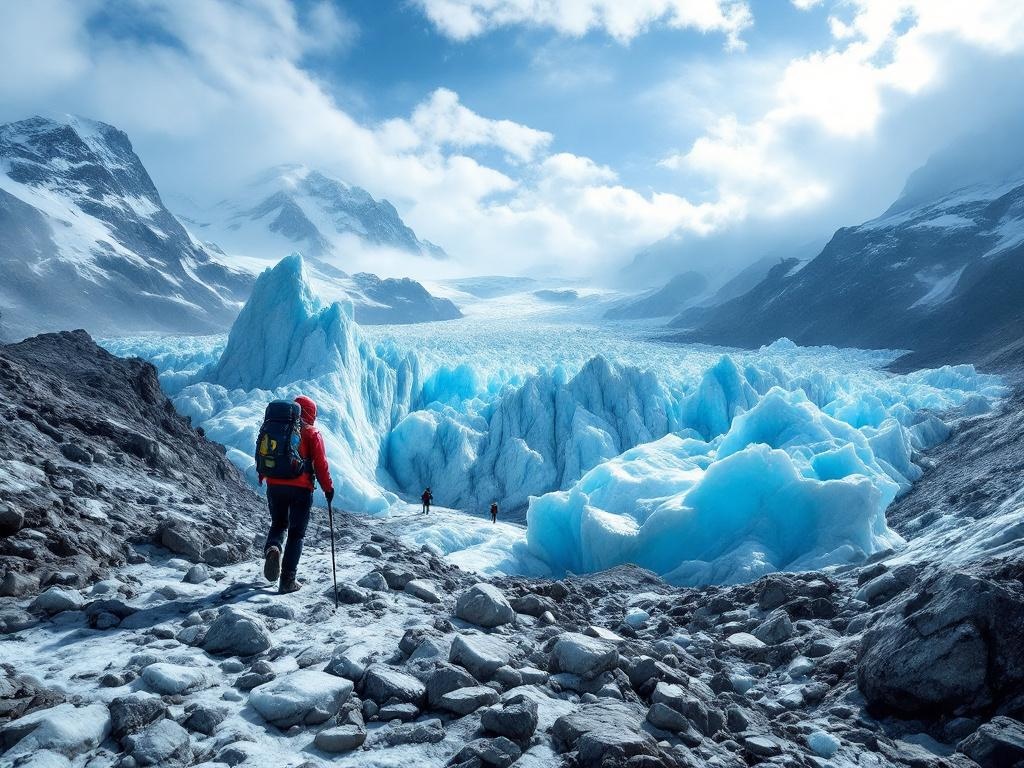
Ultimate Guide to Glacier Hiking: Routes, Difficulty, Gear, and Safety
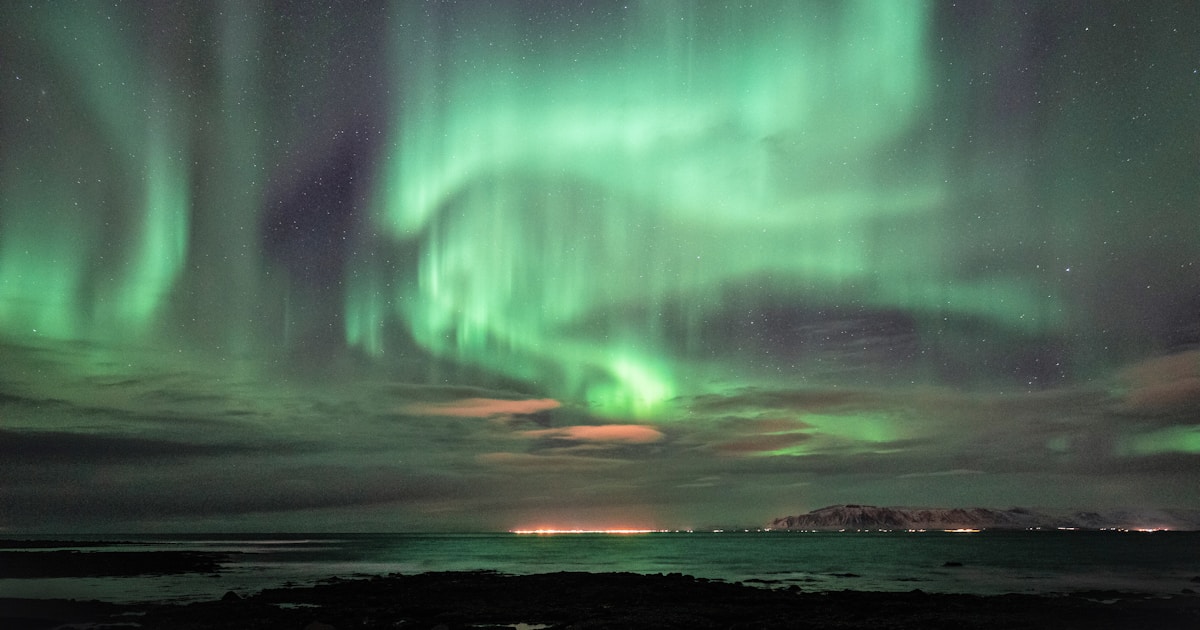
Glacier hiking is one of the most accessible ways to get onto moving ice, but the phrase covers very different experiences. A short introductory walk on a managed glacier tongue is not the same as a technical day with steep ice, crevasses, and rope travel. This guide helps you choose the right level and understand where the risks actually sit.
What Glacier Hiking Usually Means
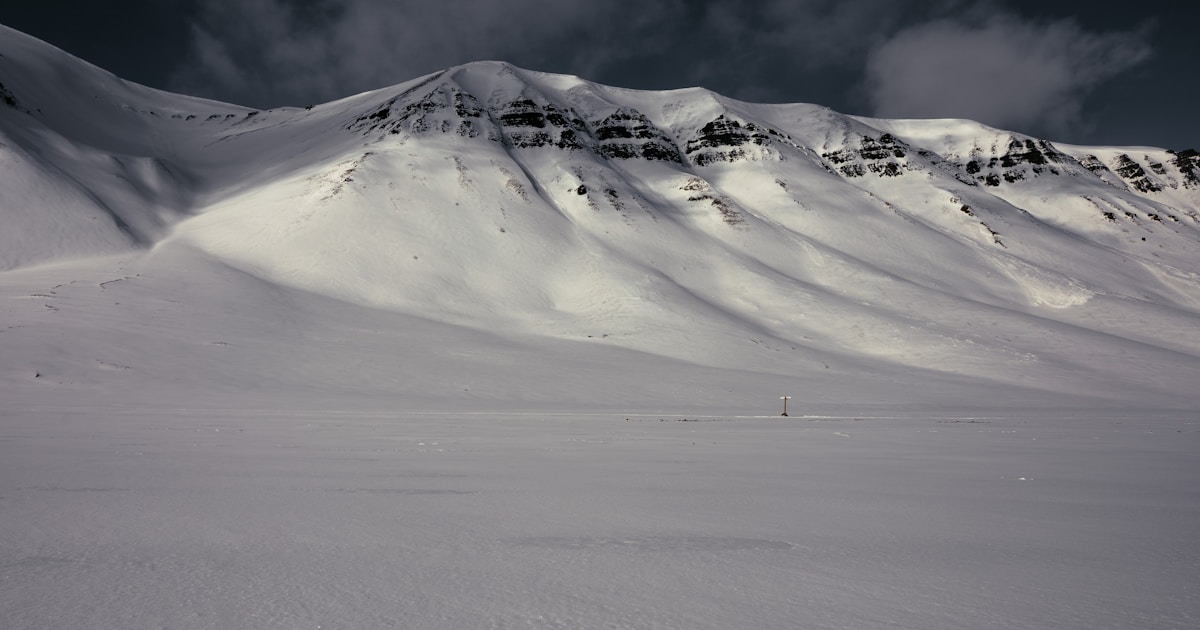
Most travellers book a guided walk using crampons and helmet, often with an ice axe available depending on terrain. The route may include blue ice, ash-covered sections, moulins, crevasse fields, or ridgelines, but the day is usually designed around conditions rather than a fixed promise.
That flexibility matters because glaciers change constantly. A responsible operator will talk about route choice, weather, and surface safety more than dramatic photo spots.
Difficulty Levels
| Trip style | Typical duration | Fitness level | Best for |
|---|---|---|---|
| Intro glacier walk | 2 to 4 hours total | Moderate | First-timers |
| Half-day glacier hike | 4 to 6 hours | Moderate to good | Active travellers |
| Full-day technical hike | 6 to 10 hours | Good | Serious hikers and photographers |
| Ice climbing or advanced glacier travel | full day or more | Strong plus technical interest | Specialists |
Where Glacier Hiking Works Best
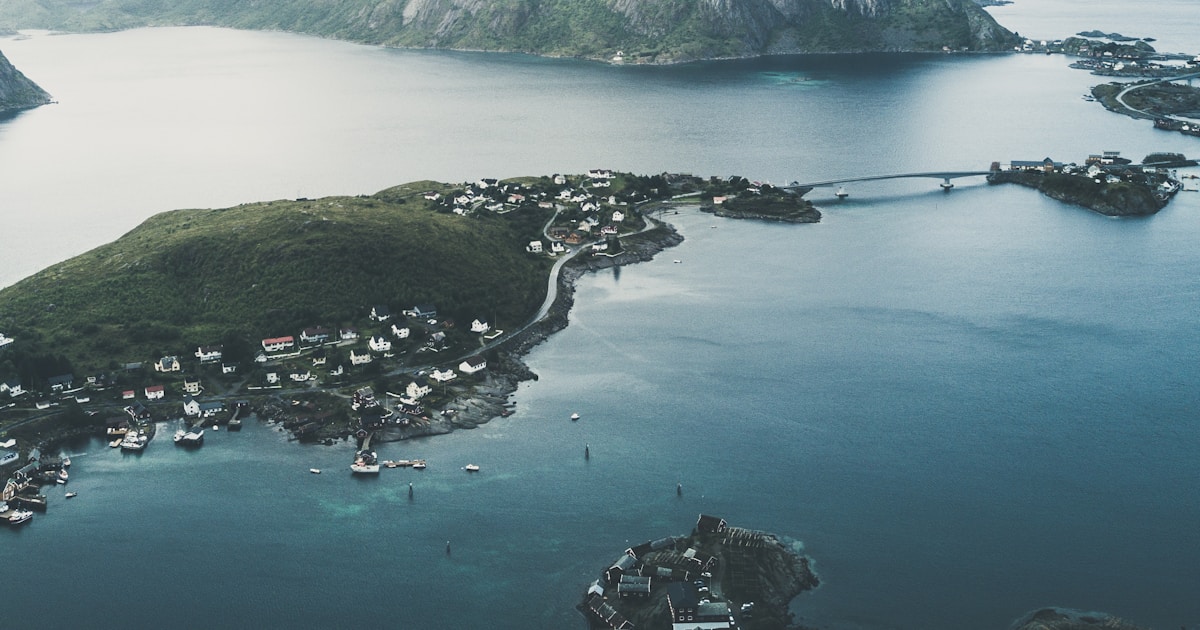
Iceland is the most obvious entry point because glaciers are accessible, guiding infrastructure is strong, and short walks are easy to combine with road trips. Svalbard, Greenland, Alaska, Norway, and parts of Arctic Canada can offer more remote glacier travel, but the barrier to entry is usually higher and the logistics less flexible.
Use this page for the broad decision. Use destination guides when you are choosing a specific country or operator base.
What Guides Provide
A normal glacier tour may include:
- helmet
- crampons
- harness when route conditions require it
- safety briefing and walking technique
- guide leadership and route decisions
How to Know If a Tour Is Worth It
Look beyond whether the photos are blue enough. Better signs include:
- group sizes that allow real supervision
- clear explanation of minimum age and fitness
- honest weather cancellation policy
- guides with glacier-specific training, not generic outdoor marketing
- realistic description of hiking time versus transfer time
Safety Basics
Glaciers are dynamic terrain with hidden holes, unstable edges, and weather exposure. That is why guided travel is the norm for most visitors. Independent walking on unfamiliar glaciers is not a casual extension of normal hiking.
Guests should listen carefully to spacing, foothold, and line instructions. Many accidents begin with simple overconfidence around crampons, slippery surfaces, or approaching ice edges for photos.
Clothing and Gear
Expect cold wind, wet feet, and repeated stop-start movement. Prioritise waterproof shells, warm layers that still breathe, gloves you can move in, sunglasses or goggles where relevant, and a small bag that keeps spare layers dry.
Good Questions to Ask Before Booking
- How much of the total tour is actually on the glacier?
- Is the route beginner-friendly or physically demanding?
- Are crampons, helmet, and harness included?
- What happens in heavy rain, high wind, or low visibility?
- Are there stairs, steep approaches, or ladder sections?
- What is the minimum age and why?
Common Misunderstandings
- assuming glacier hiking is just a snowy walk rather than technical terrain
- booking the cheapest trip and expecting the longest time on ice
- underdressing because movement feels warm at the start
- focusing only on scenic photos instead of safety standards
Bottom Line
Glacier hiking is worth it when you choose the right difficulty, go with a strong guide team, and treat changing conditions as part of the experience rather than a flaw. For most travellers, the best first glacier hike is a well-run introductory or half-day trip with honest route expectations and enough buffer in the itinerary for weather.