Midnight Sun Photography Tips: How to Shoot Arctic Golden Hour All Night

April is when a lot of Arctic summer trips become real. Flights for June and July start looking expensive, accommodation in the photogenic fishing villages begins to fill up, and people who spent all winter chasing the northern lights suddenly remember that the Arctic has a second magic trick. It is called the midnight sun.
If you have never experienced it, the midnight sun feels slightly unreal at first. You finish dinner, check the time, and it is 10:45 PM. The light still looks like late afternoon. At 12:30 AM, the sun is skimming the horizon in a warm orange arc, throwing side light across mountains, beaches, harbours, and snow patches that have not fully melted. Then at 2 AM it brightens again, as if someone quietly reset the day.
For photographers, this is absurdly good news. The harsh midday light that ruins so many summer images elsewhere is far less of a problem when you can simply wait for a softer hour that lasts half the night. Arctic summer gives you long windows for landscapes, road-trip pull-offs, drone-like viewpoints, wildlife encounters, and slow, careful composition without the pressure of sunset ending in ten minutes.
This guide covers how the midnight sun works, where to photograph it, what gear actually matters, how to expose scenes that fool your meter, and how to avoid the classic mistakes first-time Arctic shooters make.
What the Midnight Sun Actually Is

The midnight sun happens above the Arctic Circle, roughly 66.5° north, when Earth's tilt keeps the sun above the horizon for a full 24 hours. The closer you get to the pole, the longer this period lasts.
That means the experience varies by destination:
- Tromsø gets a midnight sun season from late May to late July.
- Lofoten and Senja have long bright nights with a very low sun, even where the local terrain sometimes hides the disc behind mountains.
- Alta enjoys a long run of continuous daylight and cleaner inland air than the coast on some days.
- Ísafjörður and the Icelandic north do not always get the same textbook horizon-hugging sun as northern Norway, but they do get luminous nights that are excellent for photography.
- Svalbard is the extreme version, where the sun simply refuses to set for months.
Why Midnight Sun Photography Is So Good

Most travel photographers spend their lives rationing good light. In the Arctic summer, you get abundance instead.
Low-angle sunlight does four useful things:
- Softens contrast so landscapes hold detail in both the sky and the ground.
- Adds texture to mountains, fishing huts, ridgelines, and water because shadows stretch sideways instead of dropping straight down.
- Warms colour even in cold-looking landscapes, making reds, yellows, and pastel blues look richer.
- Buys time so you can revisit the same composition more than once as the light subtly changes.
- landscape photography
- scenic road trips
- coastal village details
- camping and vanlife content
- hiking photography
- travel portraits
- drone work where permitted
- wildlife photography in soft evening light
Best Subjects to Shoot Under the Midnight Sun
Not every Arctic scene works equally well. The best photographs usually combine the low sun with structure in the foreground.
1. Coastal landscapes
Beaches, fjords, and harbours are ideal because water reflects the long bands of warm light. Look for curved shorelines, moored boats, red cabins, and mountain walls behind them.2. Roads and viewpoints
Northern Norway is full of scenic lay-bys where the road leads the eye into a mountain backdrop. These work especially well between 10 PM and 1 AM when traffic is light and the sun is low enough to shape the scene.3. Fishing villages
Places like Henningsvær, Reine, Hamn i Senja, and smaller Westfjord settlements become much more atmospheric late in the evening. You get cleaner compositions, fewer people, and glowing sidelight on wooden facades.4. Hiking summits
If you are willing to climb late, the Arctic gives you something rare: summit light without a dawn alarm. A 9 PM ascent can put you on a ridge at the exact moment the landscape turns gold.5. Human scale details
Drying racks, harbourside ropes, cabins, camper vans, coffee cups outside a rorbuer, and people sitting on rocks all work beautifully in midnight sun conditions. Not every shot needs to be a giant vista.The Best Time to Shoot
The biggest mistake is assuming that because the sun never sets, timing does not matter. It still matters a lot.
Use the low-sun window, not the whole day
The most flattering light usually arrives when the sun is at its lowest arc. Depending on destination and date, that is often between 10 PM and 1:30 AM.This is your real golden-hour-equivalent block.
Arrive earlier than you think
Because the light shifts slowly, you can scout at 8 or 9 PM, decide what works, and then refine compositions as the scene improves. This is a luxury. Use it.Watch direction, not just time
A north-facing beach may keep the sun in frame at midnight, while a fjord facing south might be better two hours earlier. Use a sun-tracking app such as PhotoPills or Sun Surveyor to understand where the light will travel.Plan for weather gaps
Arctic summer is not reliably clear. Coastal Norway and Iceland can give you fast-moving cloud, sea mist, or flat grey skies even in peak season. Keep a flexible list of locations so you can move when conditions change.Camera Settings That Usually Work
There is no single perfect setting, but midnight sun photography is forgiving if you understand the trade-offs.
Landscapes on a tripod
Start here:- Mode: Manual or aperture priority
- Aperture: f/8 to f/11
- ISO: 100 to 200
- Shutter speed: whatever the scene allows, usually 1/10 to 1/125 sec on a tripod
- White balance: Daylight or Cloudy for more consistent warmth
- Focus: Single-point autofocus, then switch to manual if the scene is low contrast
Handheld shooting
For moving around villages, boats, or roadside pull-offs:- Aperture: f/4 to f/5.6
- Shutter speed: aim for at least 1/250 sec if there is motion or wind
- ISO: Auto ISO capped around 1600
Travel portraits
If you are shooting people in the landscape, open up more:- Aperture: f/2 to f/4
- Shutter speed: 1/250 sec or faster
- Exposure compensation: often -0.3 to -0.7 helps protect highlights in bright skies
Bracketing high-contrast scenes
When the sun is near the horizon, contrast can still be stronger than it looks. Bracket exposures for scenes with reflective water, snow patches, or bright sky behind dark foreground elements.Composition Tips That Make a Big Difference
Midnight sun scenes can easily become pretty but vague. The light does a lot of work, so lazy compositions are tempting. Resist that.
Put something solid in the foreground
A boulder, a jetty, a bright cabin, flowers, driftwood, or a winding road gives the image a way in. Otherwise you just have pleasant light and distant mountains.Use reflections deliberately
Water is one of the best tools you have. Fjords, tidal pools, wet sand, and even puddles can turn soft side light into a much stronger frame.Let shadows create depth
The long evening shadows are part of the appeal. Do not over-lift them in camera or in editing. A little shadow structure is what makes the landscape look three-dimensional.Keep the horizon tidy
It sounds basic, but midnight sun scenes often include lots of open water or big sky. A crooked horizon is instantly obvious and makes the image feel careless.Try vertical frames too
The Arctic encourages wide panoramas, but a vertical frame with flowers, a winding road, or a cabin in the foreground can work better for storytelling and social formats.The Best Gear to Bring
You do not need a huge setup, but a few choices matter.
A wide-to-mid zoom is the workhorse
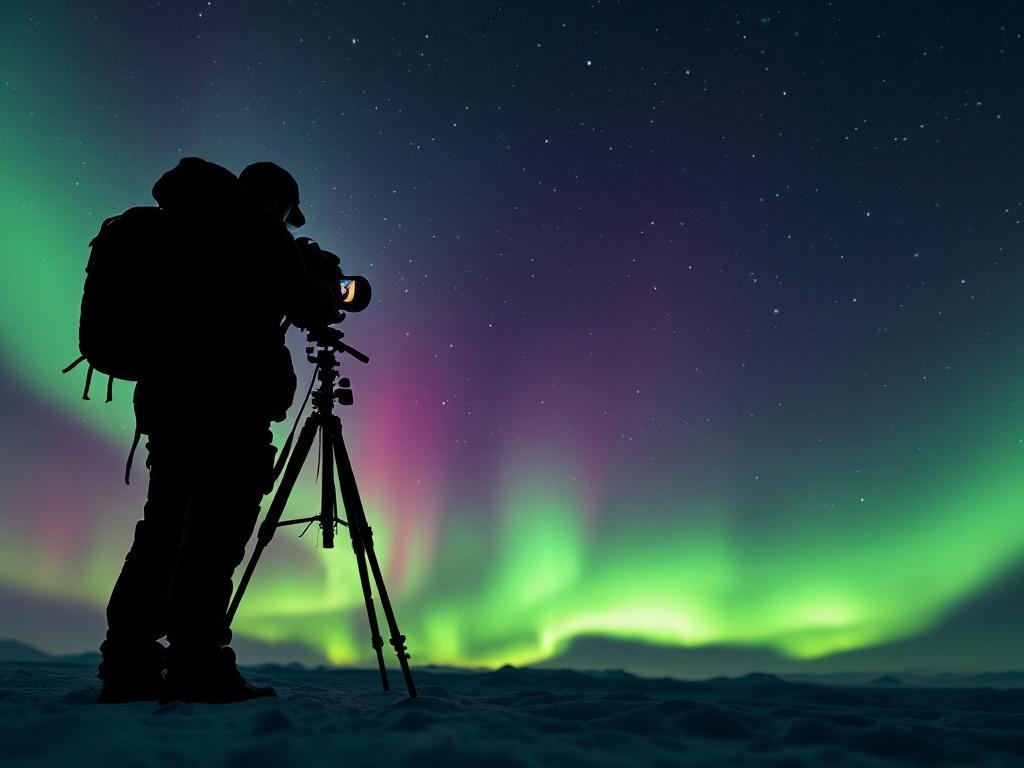
Something like 16-35mm, 20-40mm, or 24-70mm covers most midnight sun travel photography. Ultra-wide lenses are useful, but they can make dramatic mountains look smaller than they felt in person.A tripod is still worth carrying
Yes, even in summer. It helps with careful composition, bracketing, lower ISO, self-portraits, and those quieter scenes after midnight when the light is soft enough for slower shutter speeds.Polariser, used carefully
A circular polariser can cut glare on water and deepen colour, but do not overdo it with wide-angle lenses or you may get uneven skies. It is a precision tool, not a default setting.Spare batteries and storage
Cold is less brutal than in winter, but Arctic weather still drains batteries faster than a mild city break. Long nights also mean you will shoot more than expected. Bring more cards than you think you need.A rain cover or dry bag
Coastal weather changes quickly. Fine mist and sea spray are common. Protecting the camera matters more than carrying one extra lens.Smartphone Tips
A modern phone can do surprisingly well under the midnight sun because the light levels remain high.
To improve results:
- clean the lens, always
- tap to expose for the sky, then pull brightness down slightly
- use grid lines to keep horizons straight
- lean the phone on a rock, rail, or mini tripod for steadier images
- shoot both wide and 2x options, because ultra-wide smartphone lenses often lose quality at the edges
Where to Shoot: Smart Destination Picks
Tromsø
Best for travellers who want easy logistics. You can combine cable-car viewpoints, island roads, coastal scenes, and cafés that somehow still feel open when the light says afternoon but the clock says midnight.Lofoten
The classic. It is popular for a reason. Jagged peaks, red rorbuer, bridges, beaches, and endless foreground options. The downside is that everyone else knows this too, so choose late hours and quieter villages.Senja
My pick if you want the most reward for the least crowd pressure. Senja has outrageous scenery and a more spacious feel than Lofoten. The viewpoints around Tungeneset, Bergsbotn, Ersfjordstranda, and Hamn are built for low-angle summer light.Alta
Underrated for summer road trips. The inland feel, wider skies, and easier pacing make it a good choice for photographers who prefer flexibility over iconic hotspots.Ísafjörður and the Westfjords
For people who want atmosphere more than checklist tourism. The light here can be quieter and moodier, with deep fjords and fewer distractions. It rewards patience.Mistakes First-Time Arctic Photographers Make
Treating it like normal sunset
You do not need to rush in the same way. Slow down, explore angles, and revisit compositions.Shooting only grand vistas
The best set from a trip usually mixes landscapes with details, people, roads, weather, and small visual moments. Otherwise everything starts to look like a screensaver.Ignoring sleep and energy
The midnight sun is delightful until day three when your body is confused and you are making bad decisions on mountain roads at 1 AM. Build rest into the plan.Wearing city clothes
It may be summer, but exposed viewpoints can still be cold and windy at midnight. Bring a proper shell, a warm layer, and gloves if you plan to stay out.Over-editing the colours
The light is already beautiful. Push warmth too far and the Arctic starts to look fake. Keep the edit clean.A Simple Shooting Plan for Your First Trip
If you want a structure that works, use this:
- Scout one location in daylight during the afternoon.
- Return around 9 PM with a clear composition idea.
- Shoot wide establishing frames first.
- Then move tighter to details and layered compositions.
- Stay through the lowest sun point even if the first twenty minutes feel flat.
- Finish with a few human shots or self-timer frames so the trip does not become a folder full of empty landscapes.
What to Pack for Midnight Sun Sessions
Keep it simple and functional:
- camera body plus one or two lenses
- tripod
- lens cloths
- spare battery
- power bank
- waterproof shell
- insulating mid-layer
- thin gloves
- snacks and water
- head net in buggy areas later in summer
Final Take
If winter belongs to the aurora, summer belongs to photographers. The midnight sun gives you time, atmosphere, and forgiving light in a part of the world that already looks more dramatic than it has any right to. It is one of the few travel photography experiences that genuinely makes things easier instead of harder.
If you are planning an Arctic trip in late spring or summer, prioritise places where you can move slowly, stay out late, and return to the same viewpoints more than once. The best midnight sun images rarely come from frantic checklists. They come from lingering.
Planning a summer Arctic trip? Start with our destination guides to Tromsø, Lofoten, Senja, Alta, and Ísafjörður.