Northern Lights Photography: Complete Settings and Technique Guide
This is the full technique guide. For a shorter field checklist, use northern lights photography tips.
Starting Settings
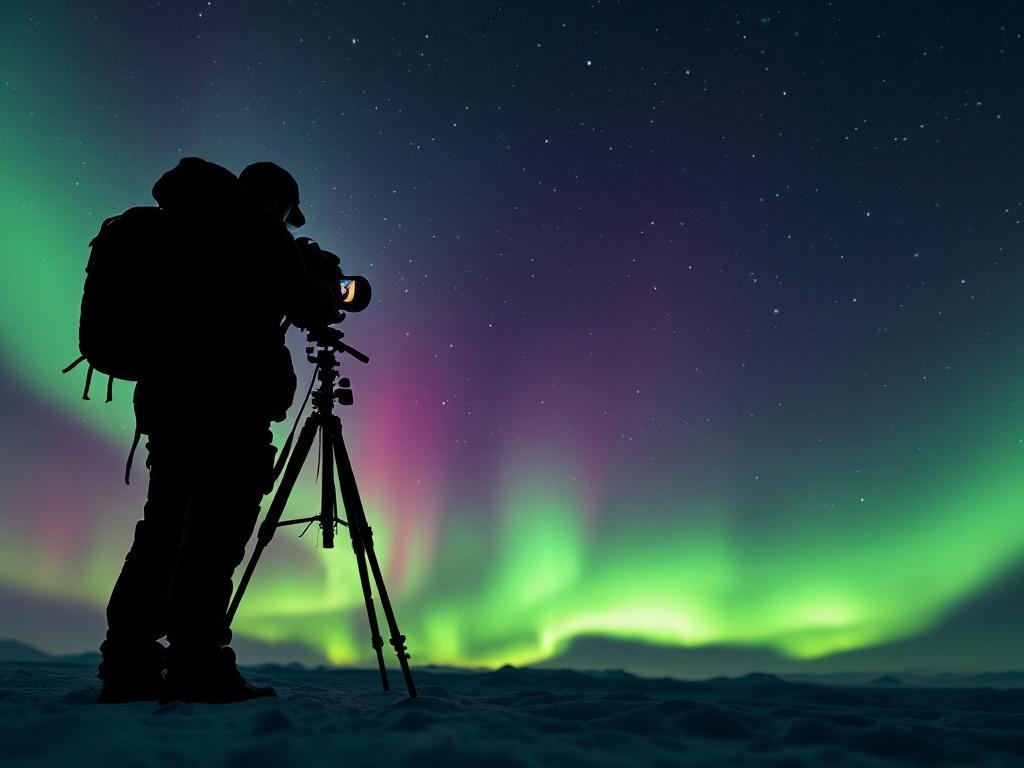
Use manual mode, RAW, manual focus, and a tripod.
| Aurora speed | Aperture | Shutter | ISO |
|---|---|---|---|
| Faint or slow | f/2.8 or faster | 10-20 sec | 3200-6400 |
| Moderate movement | f/2-f/2.8 | 5-10 sec | 1600-3200 |
| Fast bright display | f/1.4-f/2.8 | 1-5 sec | 800-3200 |
Focus
Focus manually before the action peaks. Use a bright star, distant light, or the moon. Magnify live view, adjust until the star is smallest, then tape or avoid touching the focus ring.
Do not rely on autofocus in the dark. It may hunt, miss, or refocus between frames.
Lenses
Wide and fast is the standard choice. On full-frame, 14-24mm works well. On APS-C, use roughly 10-16mm. On Micro Four Thirds, use roughly 7-12mm.
An f/1.4 or f/1.8 lens helps with faint aurora, but f/2.8 can work well for stronger displays. Sharpness wide open matters more than the marketing number.
Composition
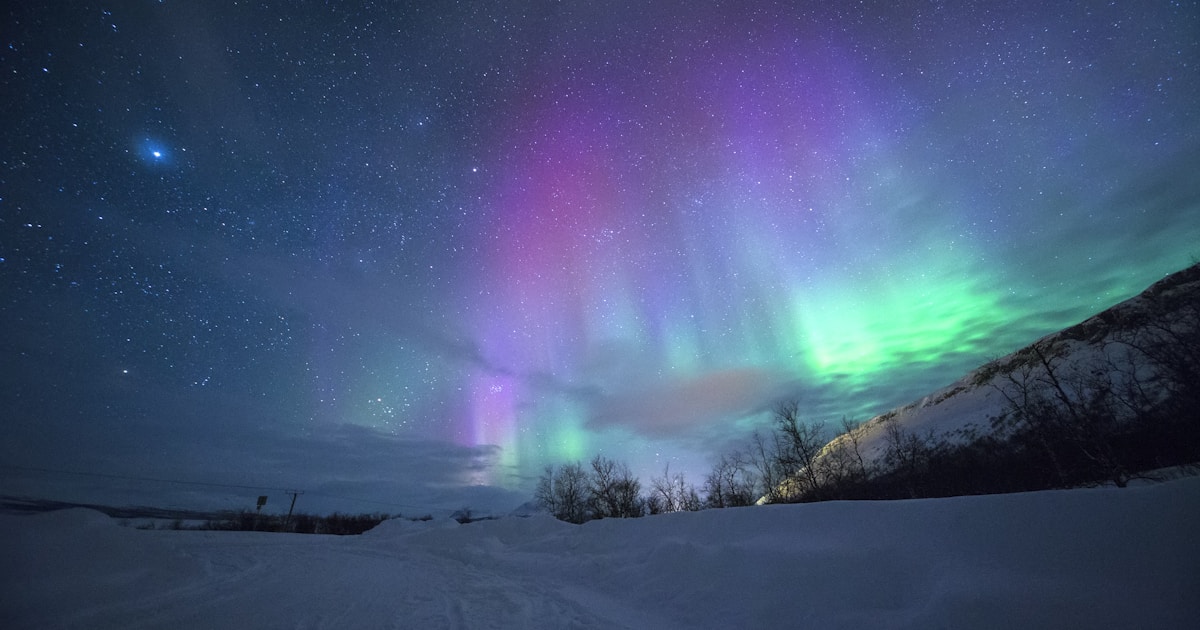
Aurora photos need foreground. Use mountains, cabins, trees, beaches, fjords, ice, people, or roads to give scale. Avoid placing the horizon exactly in the middle unless reflections justify it.
Scout compositions during daylight. At night, moving around in snow and ice is slower than expected.
Exposure Workflow
- Set manual mode, RAW, and a 2-second timer.
- Start around f/2.8, 8 seconds, ISO 3200.
- Check focus at 100%.
- Check histogram rather than trusting the rear screen.
- Shorten shutter for fast aurora.
- Lower ISO for very bright displays.
- Recompose only after saving a reliable frame.
White Balance
Set a fixed white balance around 3500-4000K as a starting point. Auto white balance can shift between frames and make editing harder, especially for timelapse.
RAW files let you adjust later, but a fixed setting helps consistency.
Phones
Phones can capture bright aurora with night mode, a tripod, and a timer. Lock focus and exposure if the app allows it. Keep the phone warm between shots.
Phones struggle with faint aurora, detail, and long cold sessions. For a once-in-a-lifetime trip, a dedicated camera is still worth considering.
Common Problems
| Problem | Likely cause | Fix |
|---|---|---|
| Stars are soft | Missed focus or tripod movement | Refocus with magnified live view; stabilise tripod |
| Aurora is smeared | Shutter too long | Use 2-6 sec and raise ISO |
| Image is noisy | ISO too high or underexposed | Open aperture, use longer shutter if aurora is slow |
| Foreground is black | No ambient light | Use snow, moonlight, or subtle light painting where allowed |
| Lens fogs | Temperature change or breath | Keep cloth handy; avoid breathing on glass |
Editing Basics
Keep edits believable. Adjust exposure, white balance, contrast, highlights, shadows, and noise reduction. Avoid pushing saturation until the sky looks radioactive. Natural aurora colour varies, but overprocessed green is easy to spot.
Final Advice
Practise manual settings before the trip. In the field, the best photographers are not the people with the most expensive bodies; they are the people who can focus quickly, expose calmly, and keep warm long enough to wait for the sky.